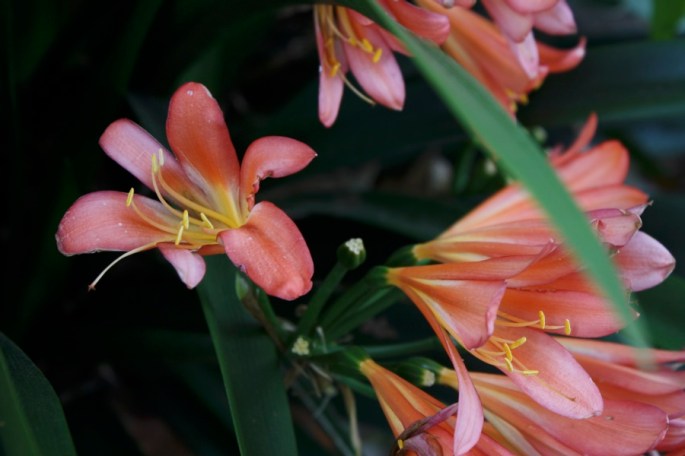
Pic 1: F stop -2
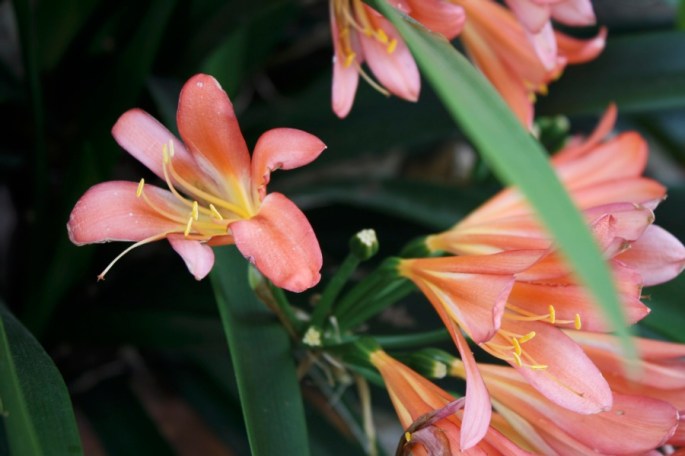
Pic 1: F stop -1
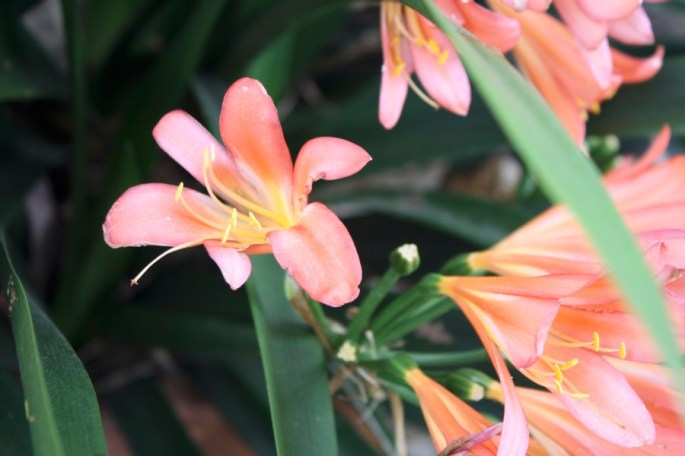
Pic 1: F stop 0
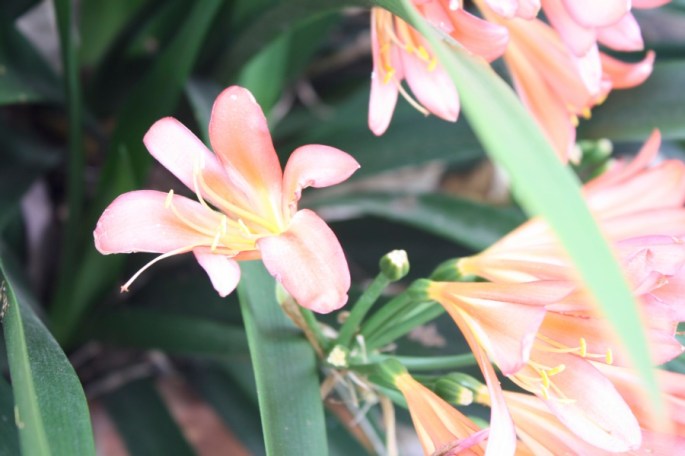
Pic 1: F stop +1
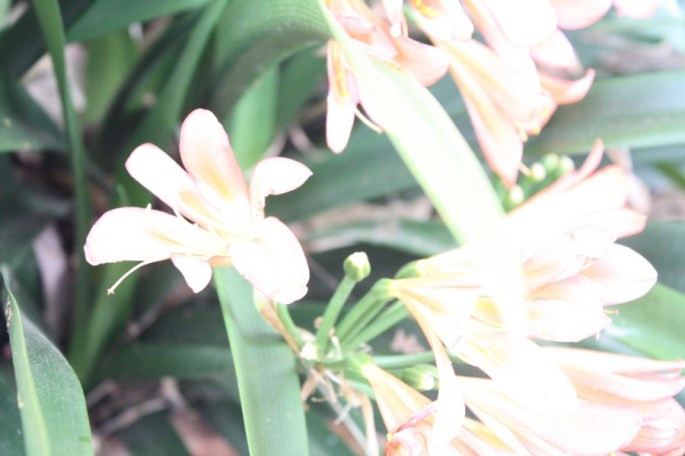
Pic 1: F stop +2

Black pic 1: F stop -2

Black pic 1: F stop -1

Black pic 1: F stop 0

Black pic 1: F stop +1

Black pic 1: F stop +2

White wall 1: F stop -2
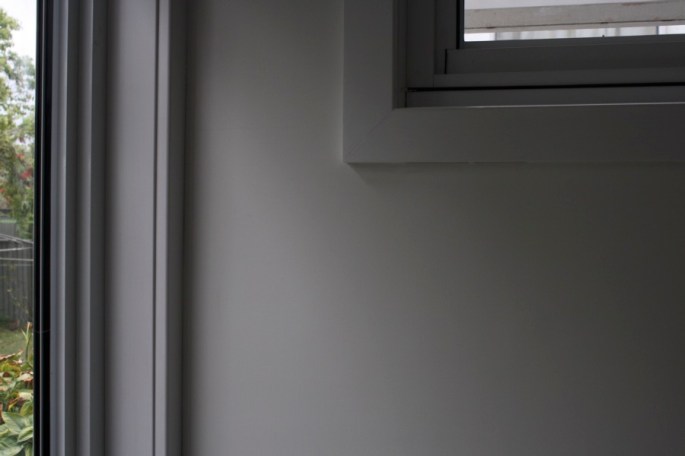
White wall 1: F stop -1
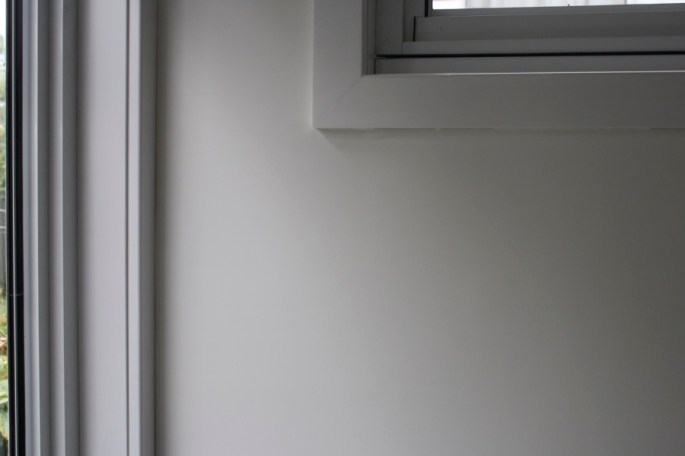
White wall 1: F stop 0

White wall 1: F stop +1

White wall 1: F stop +2
Results / Summary
In this activity I learnt how useful the f-stop exposure tool on my camera is.
Pic 1 – Flowers
It was a cloudy day outside so the -1 and -2 F-stops created the best exposure/detail on the image. The was also a nice depth of field on the flowers with these settings.
Pic 2- black jumper
Again the – 1 and – 2 F-stops provided the most realistic photograph of the jumper and the knitted texture without over-exposing too much.
Pic 3- White wall
In these sets of images the best exposure was in F stop 0 and +1, the wall wasn’t grey and over shadowed as it was in the – 1 and – 2 F stop’s. While the +2 image was overexposed and started losing detail.
All images benefited from exposure compensation. It has also gotten me to look back at older photos of mine and realise how beneficial this tool would of been.
In this module I learnt about the importance of ISO, shutter speed and Aperture when adjusting exposure. I also learnt the limitations of cameras, dynamic range, metering mode and bracketing.
note: my camera only goes as low as -2 and as high as +2
- Abbey
 Abbey H Photography
Oh these are such great examples using the dark and light subjects that you did! These extremes really show that you have to override the cameras assumptions to get the most realistic representation.
LikeLiked by 1 person