Module 6

IMG_0057IMG_0059

Activity 6.1- ISO test

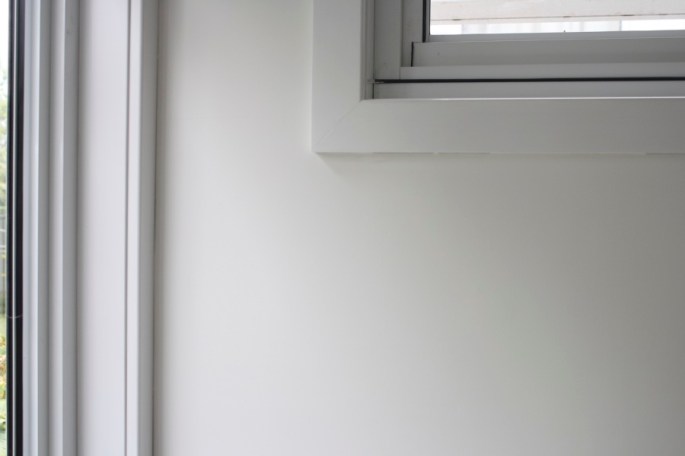
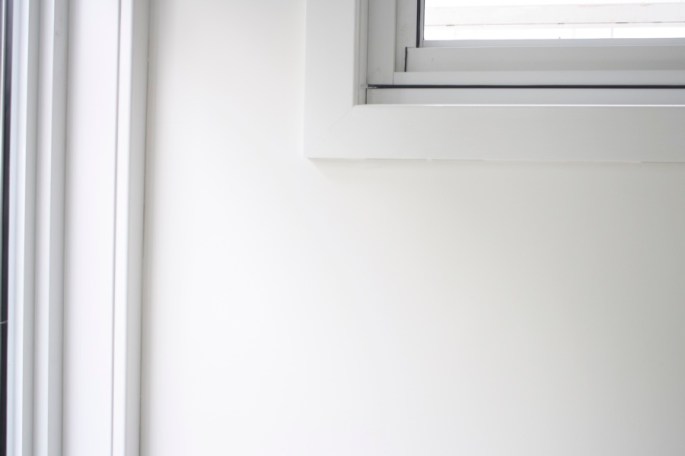
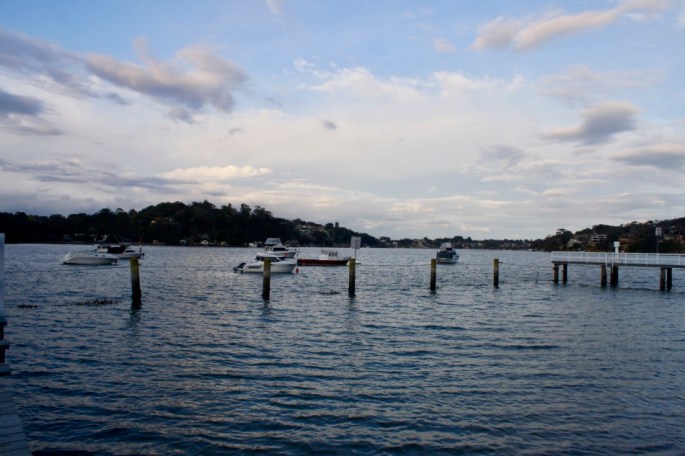
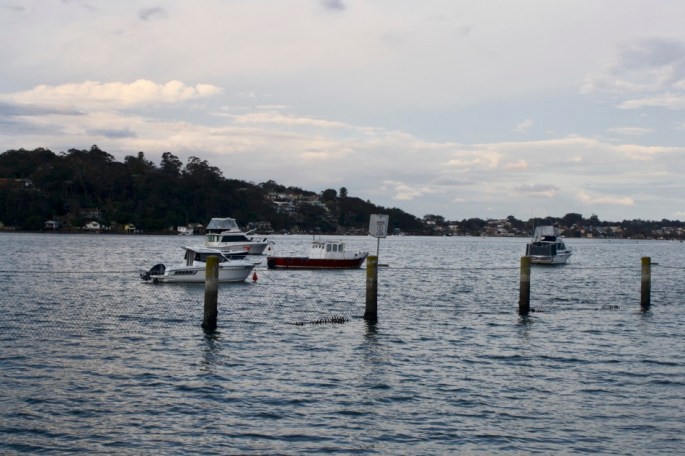
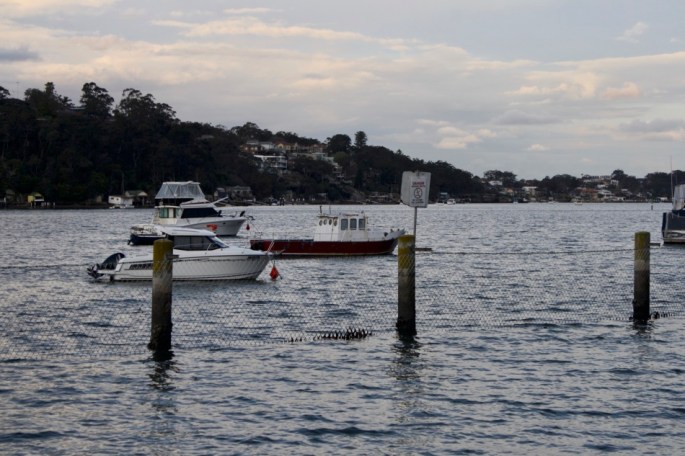
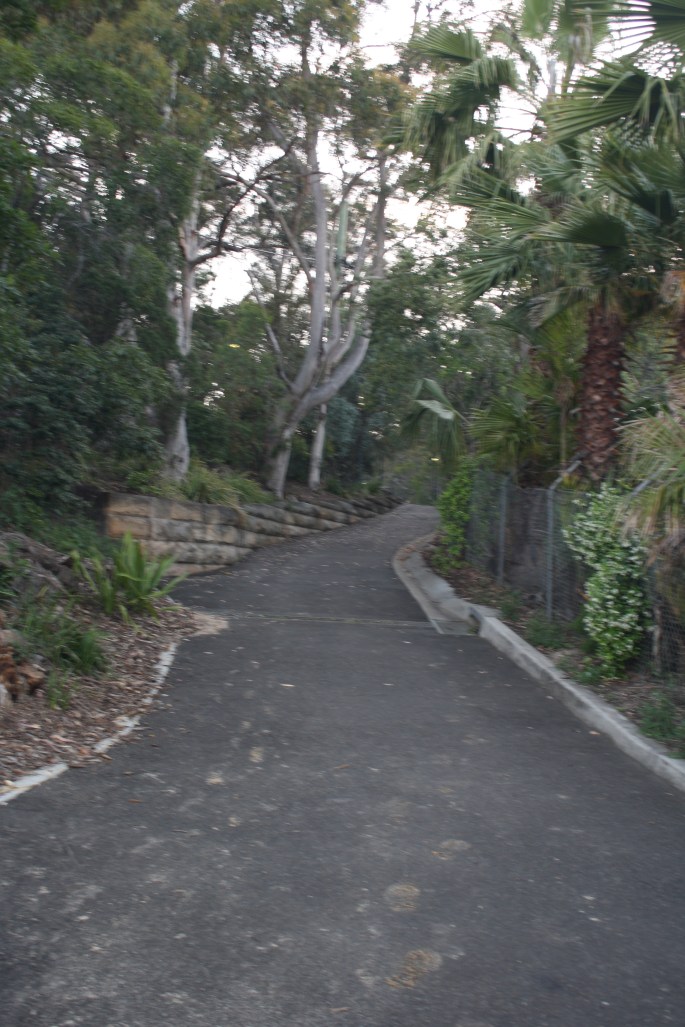
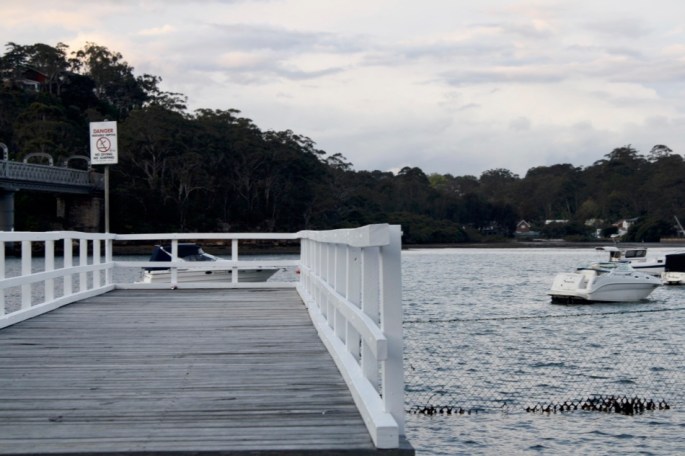
In this exercise I tested out the difference of using low and high ISO settings. Both of these photos were taken just after sunset when the light was very low. You can see such an improvement with a higher ISO setting.

Pic 1 (ISO 100)- The image is blurry, out of focus and dark.

Pic 2 (ISO 800)- This image with a high iso is in focus and correctly exposed.


  • Abbey

Module 5

Activity 5.1 – Freezing and blurring motion
IMG_0031IMG_0041IMG_0189IMG_0201

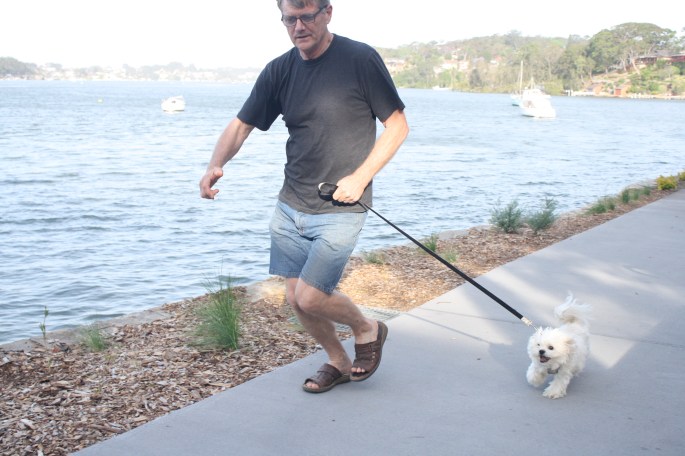
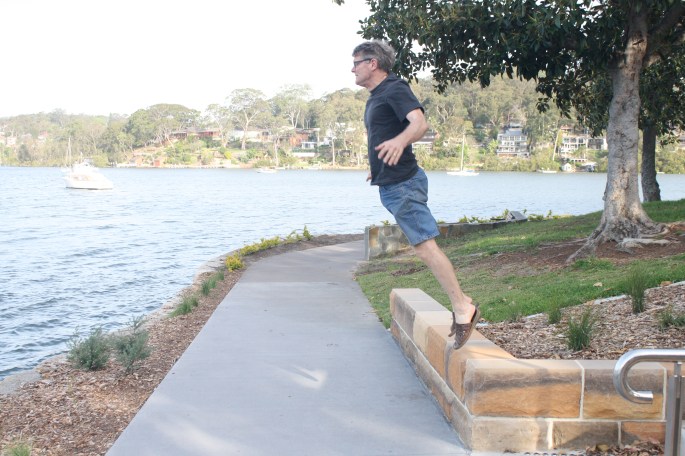
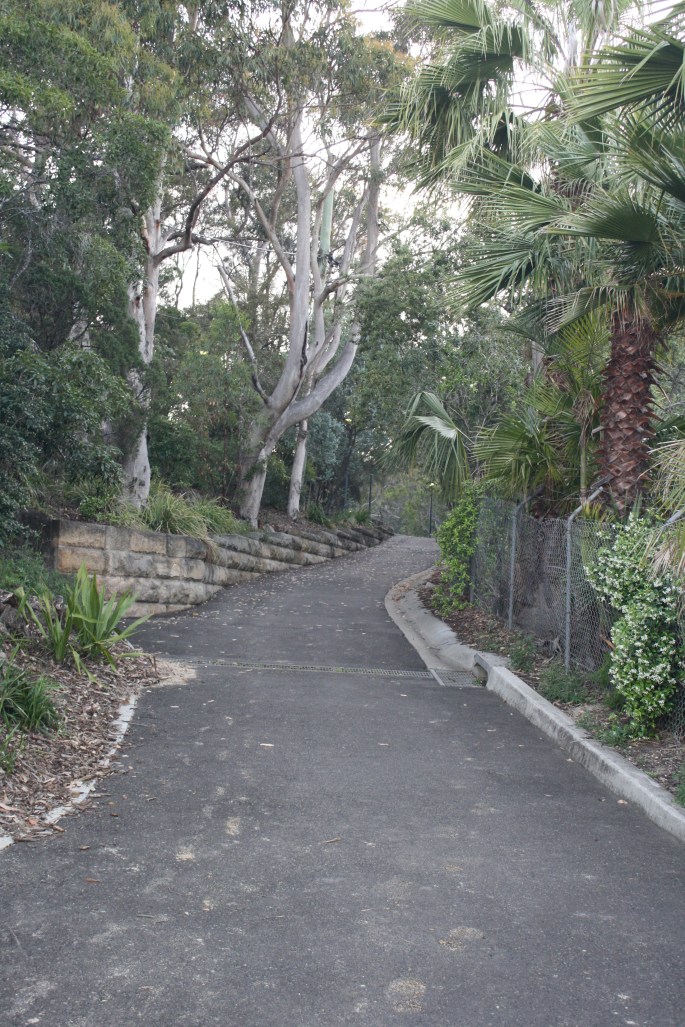
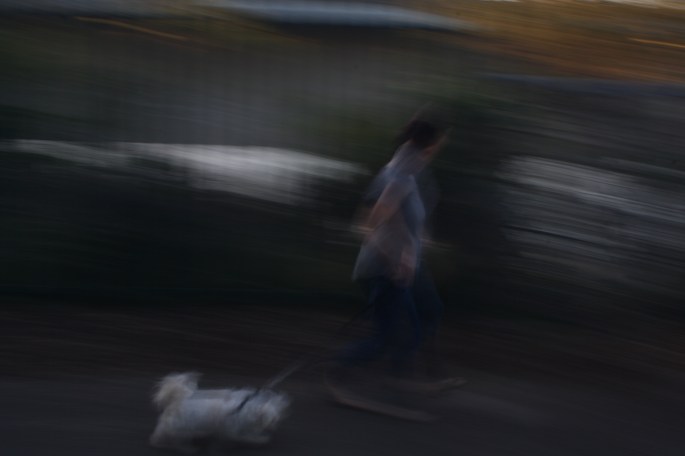
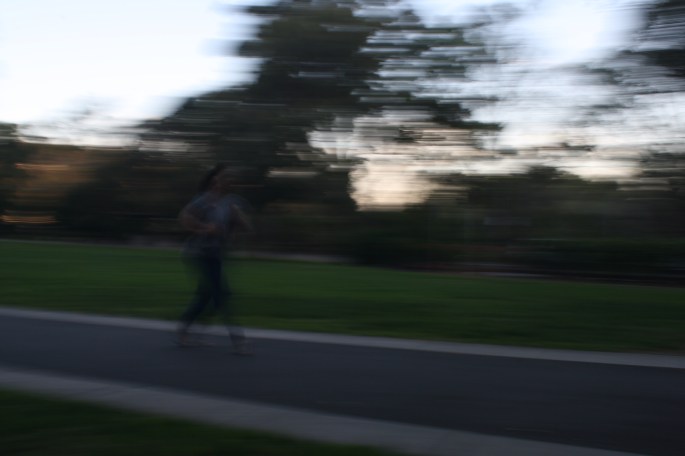
In this exercise i trialed different shutter speeds to find the right one to freeze and blur motion. I took these photos over two days.

Pic 1 and 2 (shutter speed 0.3)- the shutter speed was way too low and the light was very low turning the image into a blurry un-recongnisable mess.

Pic 3 and 4 (shutter Speed 1/800)- Everything is in focus and the movement is captured, the exposure however could be lower.


Activity 5.2 – Panning 
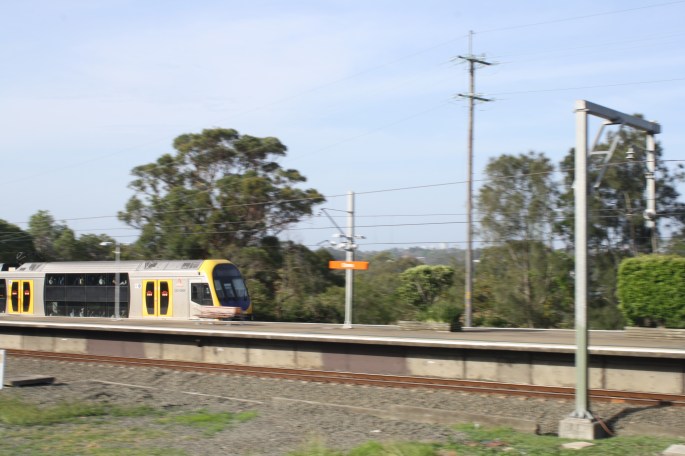
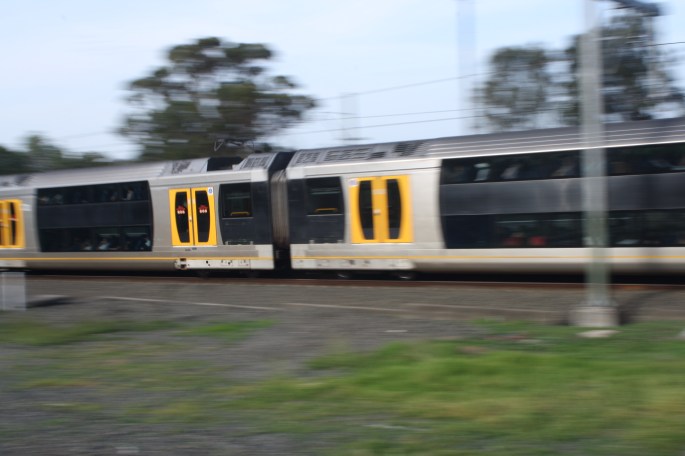
IMG_0006IMG_0012IMG_0025IMG_0098IMG_0134

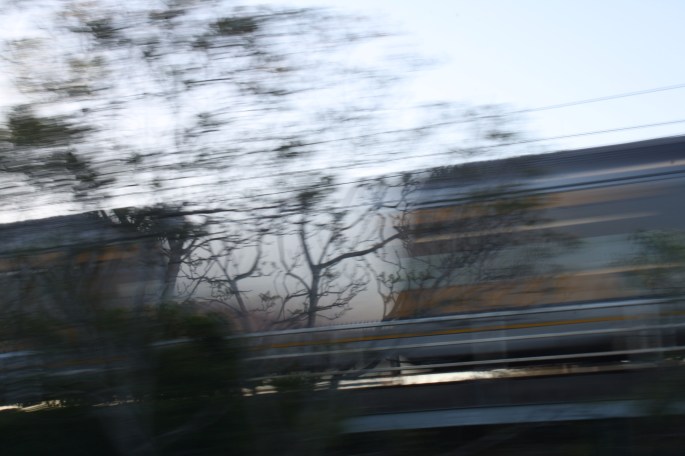
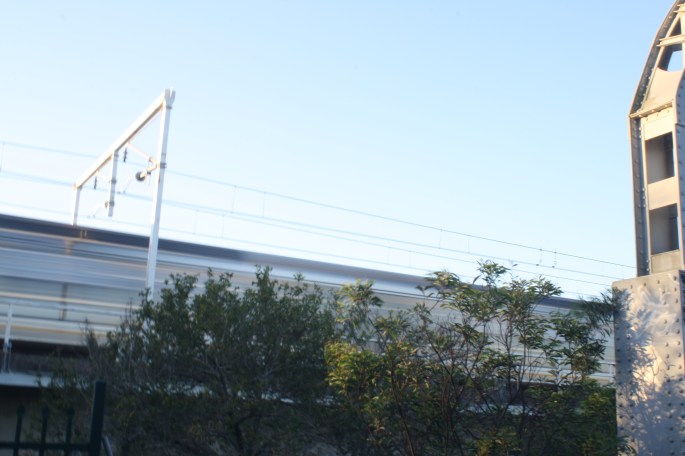
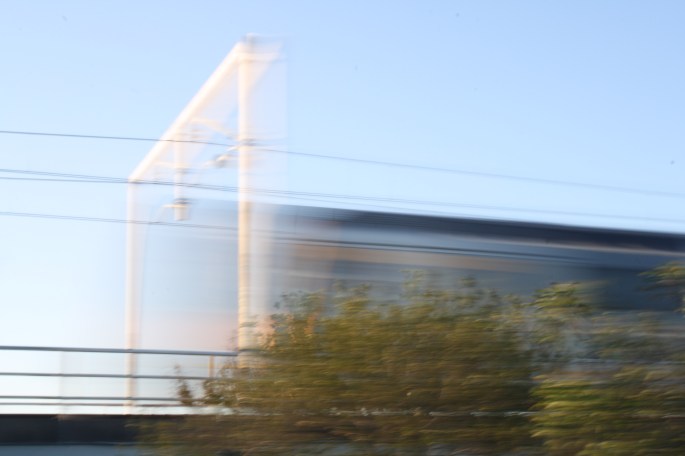
In this exercise i experimented with panning using different shutter speeds. I took the photos over two days, using different locations until i found the right shot which i used in my 3rd assessment.

Pic 1 (shutter speed 1/4)- I love the look of this photo you can feel and see the movement of the train however it doesn’t fit the panning properties. Instead the entire image is blurred and their is no focus on the train.

Pic 2 (shutter speed 1/4)- I had to add this image as it is such a cool image! You can create so many unexpected effects when messing around with settings and shutter speeds.

Pic 3 (shutter speed 0.3)- In this image the train is still very blurred but unlike the first image the rest is in focus.

Pic 4 (shutter speed 1/40)- You can start to see the blurring of the background and the train coming into focus at this shutter speed, however it is only subtle.

Pic 5 (shutter speed 1/15)-  The final and best image (after a lot of different shutter speeds and waiting for trains) the train is in focus in areas and the background is blurred.
  • Abbey

Aperture – Module 4

Activity 4.1 – Aperture and depth of field

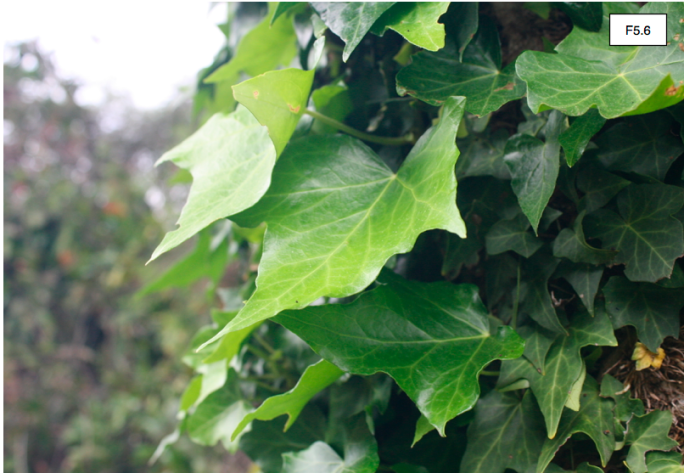
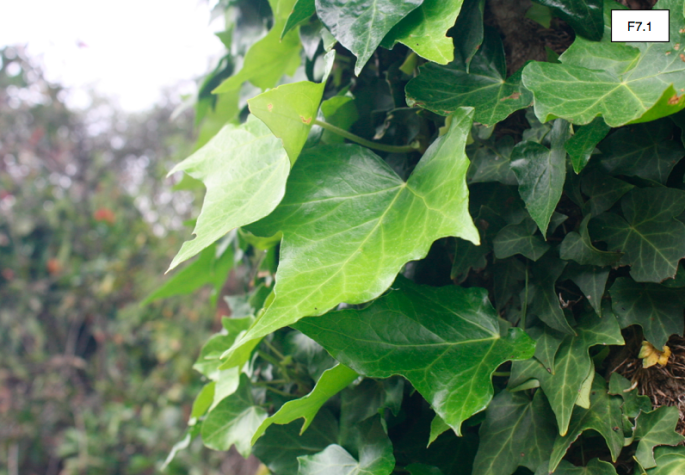
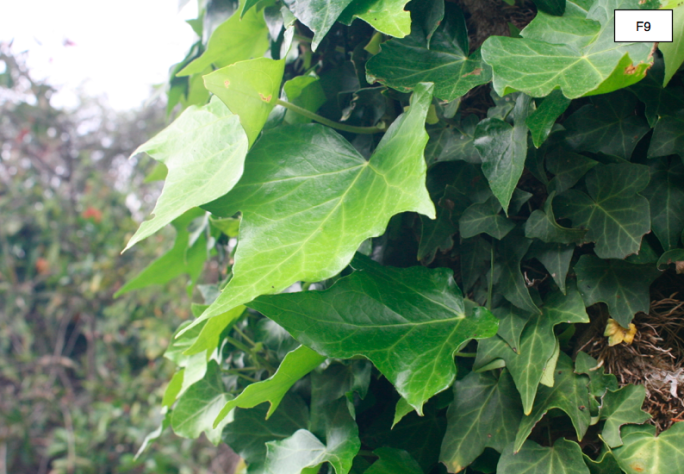
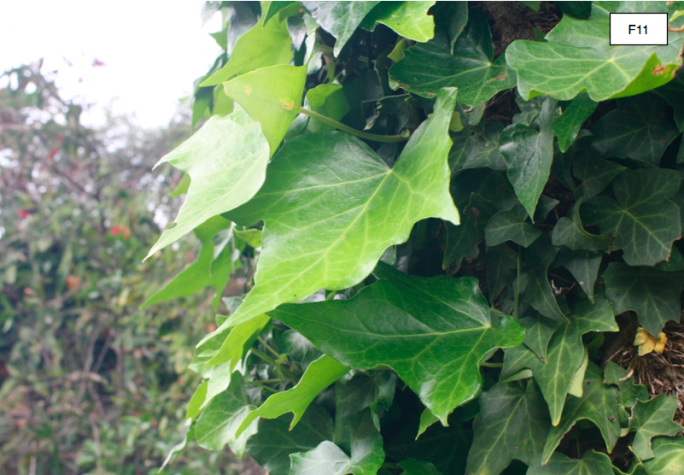
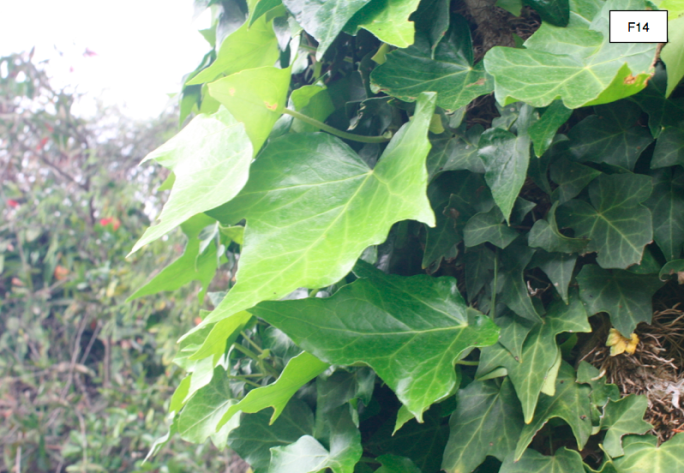
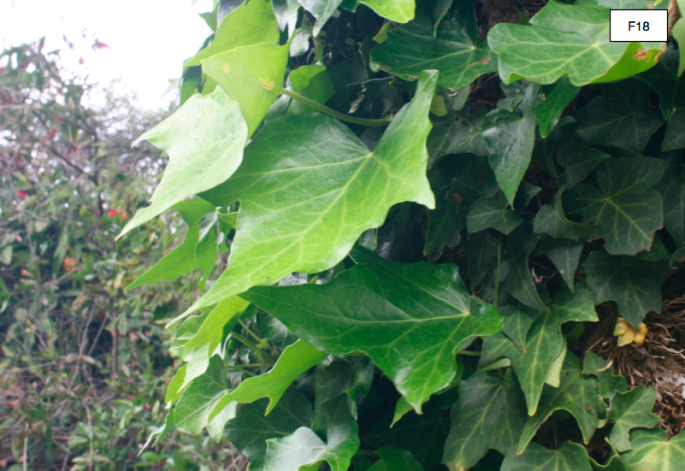
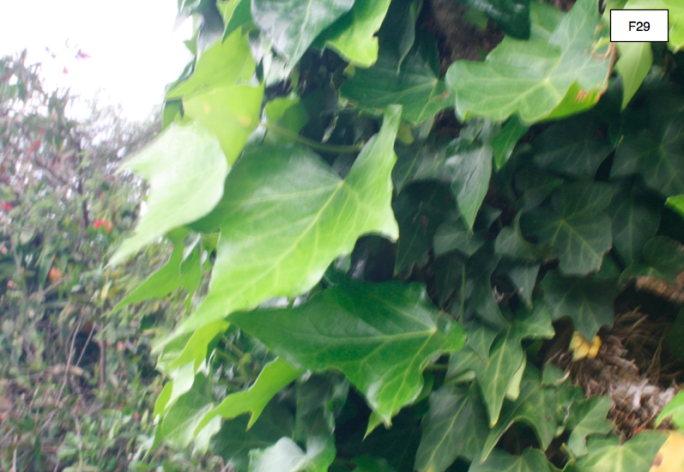
Screen Shot 2018-10-17 at 4.26.49 pmScreen Shot 2018-10-17 at 4.27.19 pmScreen Shot 2018-10-17 at 4.27.37 pmScreen Shot 2018-10-17 at 4.28.21 pmScreen Shot 2018-10-17 at 4.28.42 pmScreen Shot 2018-10-17 at 4.28.57 pmScreen Shot 2018-10-17 at 4.29.19 pmScreen Shot 2018-10-17 at 4.30.31 pmScreen Shot 2018-10-17 at 4.31.04 pm

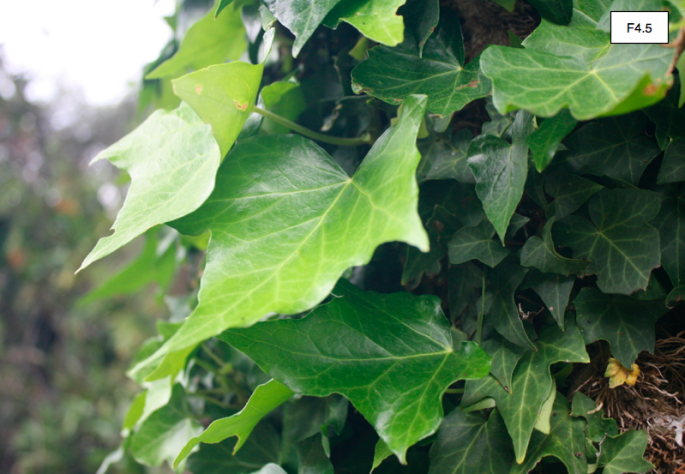
In this exercise I experimented with different aperture settings to compare the affects of depth of field. As the aperture settings rose past F7.1 the photos became blurry and the depth of field was gradually lost as more light filled the image.
With each aperture adjustment the shutter speed changed dramatically. Especially when the aperture got higher for example the F4.5 (the lowest) aperture had a shutter speed of 1/125 and the F29 (the highest) aperture had a shutter speed of 0.30000s.

This can be explained as the aperture hole becomes smaller it allows less light in and a slower shutter speed is used by the camera to compensate. This makes the images more blurry in a bright location making the higher aperture settings more suitable for low light photography. A higher aperture setting can also be used for landscape photography when the whole image is in focus.


Activity 4.2 – Camera, subject and background

close upstep backfurther

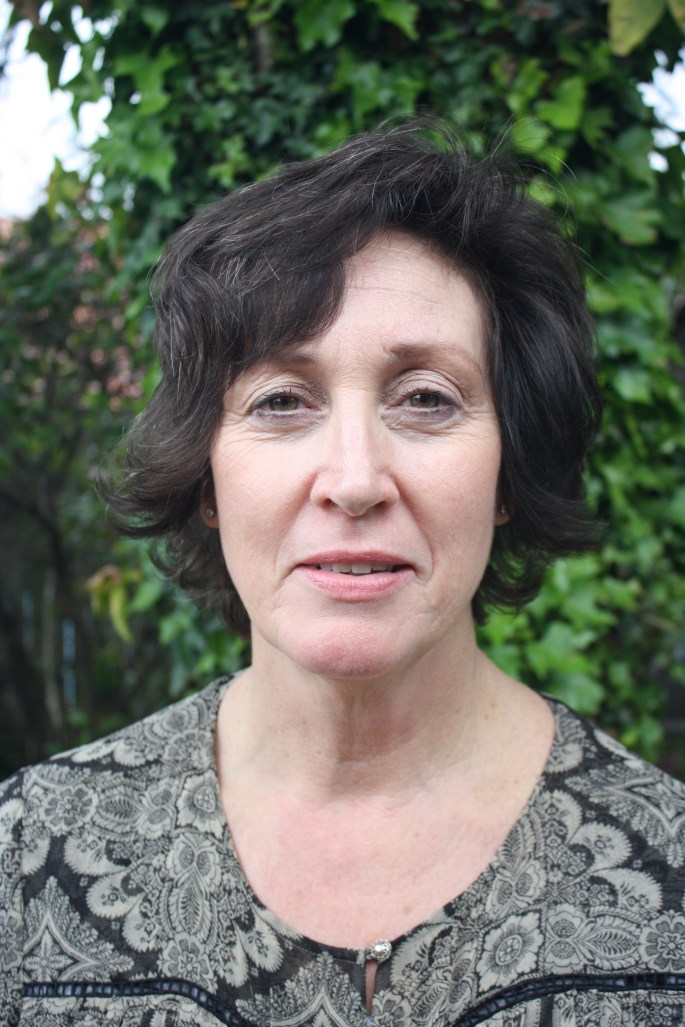
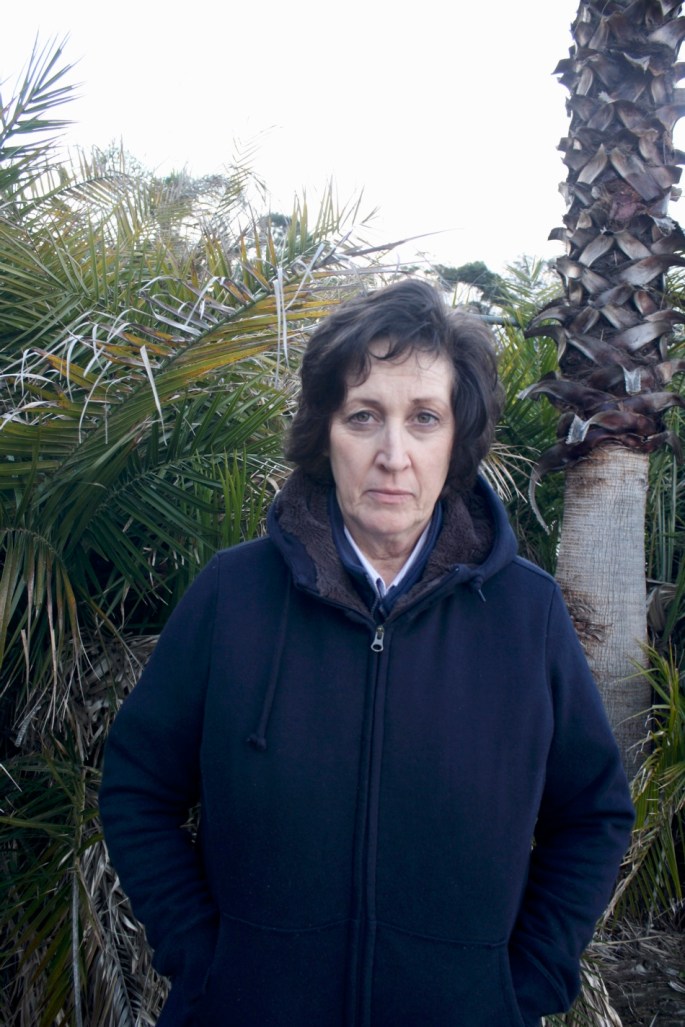
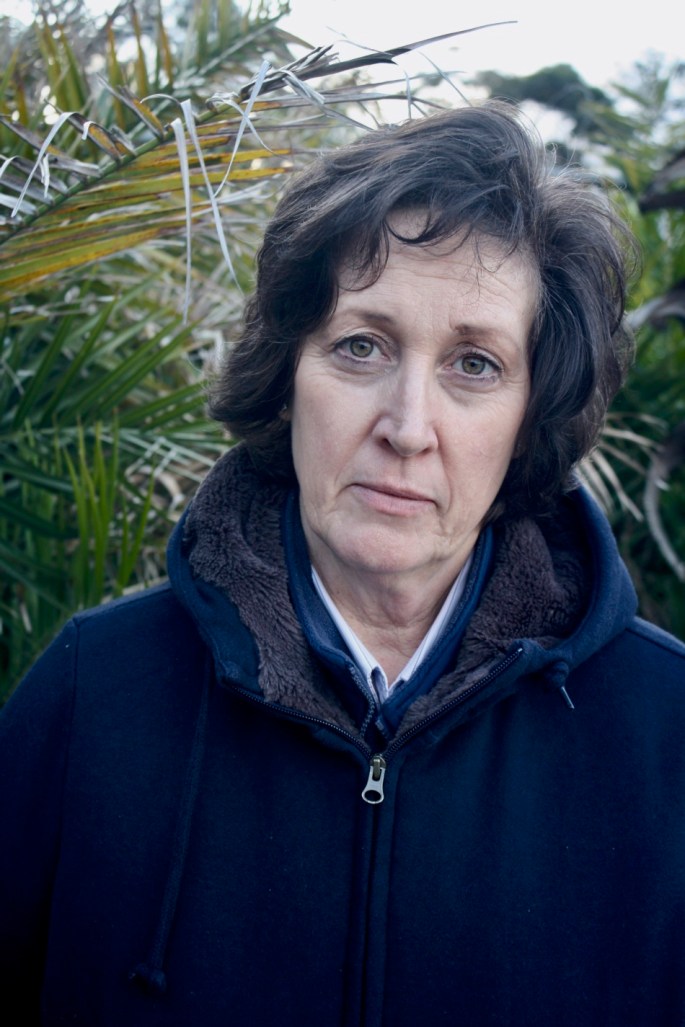
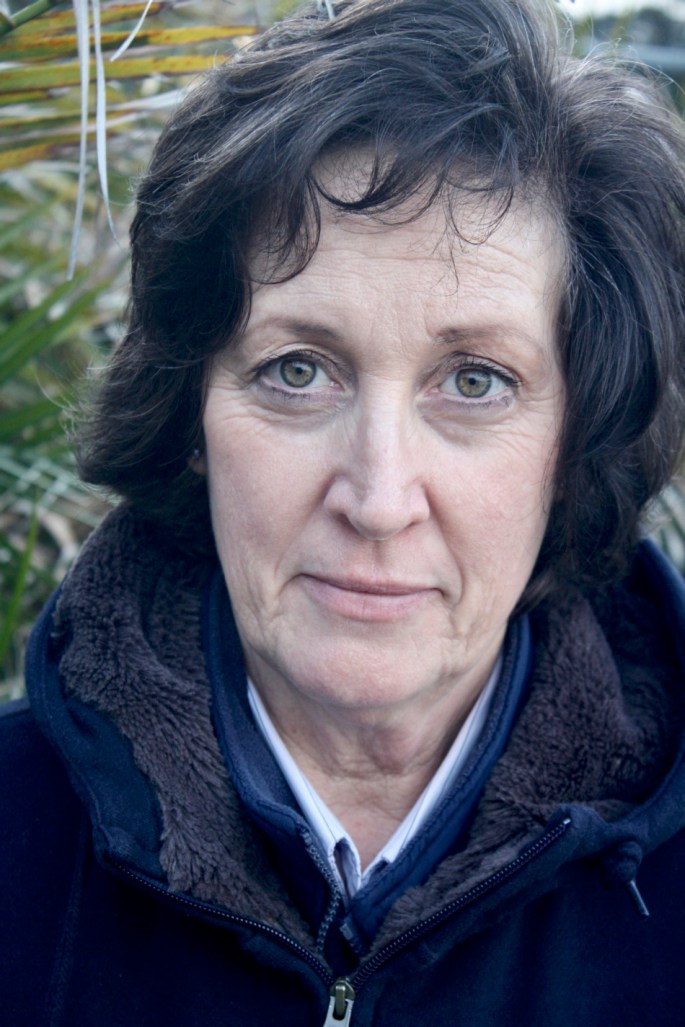
In this exercise i compared the results of the changing distance between the camera, subject and background. And how that affected the depth of field.

While the depth of field is still evident in all 3 images the best example of a depth of field can be seen in the first image (the closest) The background is blurred and the subjects face is in complete focus. The background becomes less blurred as the subject moves farther away. the subjects face also blends into focus with the surroundings rather then being the sole focus.

When it comes to portrait images and product photography for depth of field it is best when the subjects are closer.


  • Abbey


Exposure – Module 3

-2

Pic 1: F stop -2

-1

Pic 1: F stop -1

0

Pic 1: F stop 0

+1

Pic 1: F stop +1

+2

Pic 1: F stop +2

-2 blk

Black pic 1: F stop -2

-1 blk

Black pic 1: F stop -1

0 blk

Black pic 1: F stop 0

+1 blk

Black pic 1: F stop +1

+2 blk

Black pic 1: F stop +2

-2

White wall 1: F stop -2

-1

White wall 1: F stop -1

0

White wall 1: F stop 0

+1

White wall 1: F stop +1

+2

White wall 1: F stop +2


Results / Summary

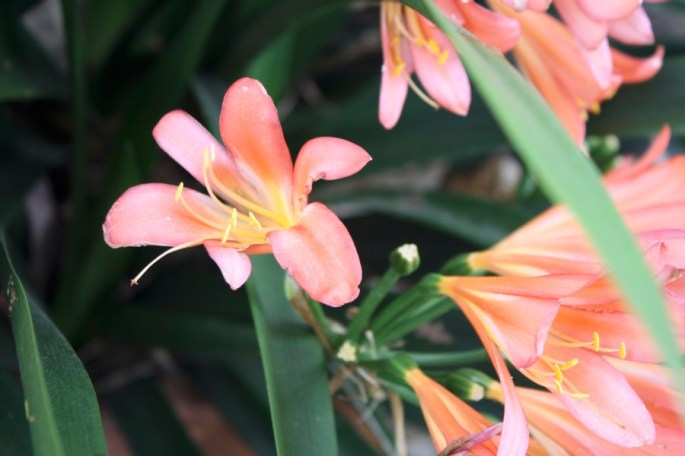
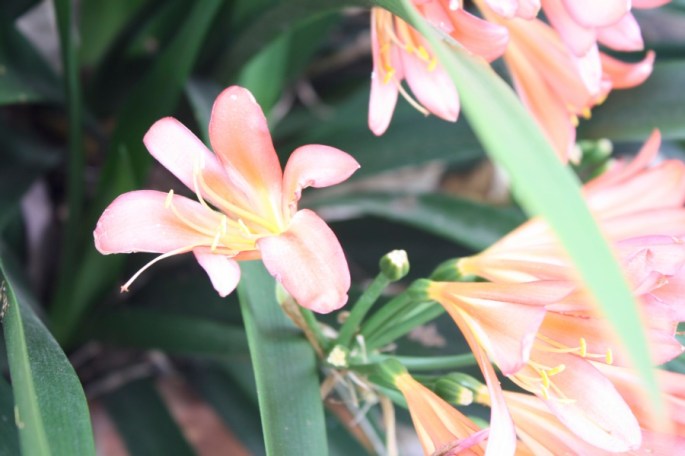
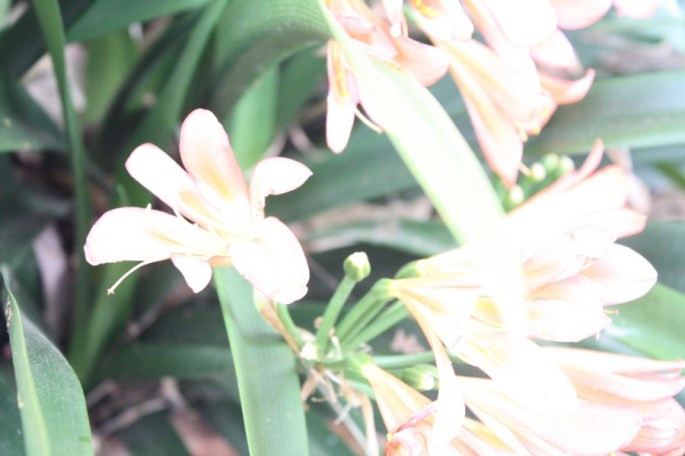
In this activity I learnt how useful the f-stop exposure tool on my camera is.

Pic 1 – Flowers

It was a cloudy day outside so the -1 and -2 F-stops created the best exposure/detail on the image. The was also a nice depth of field on the flowers with these settings.

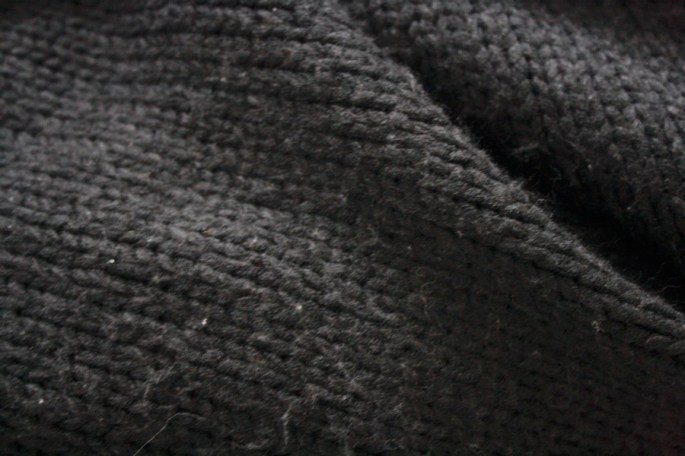
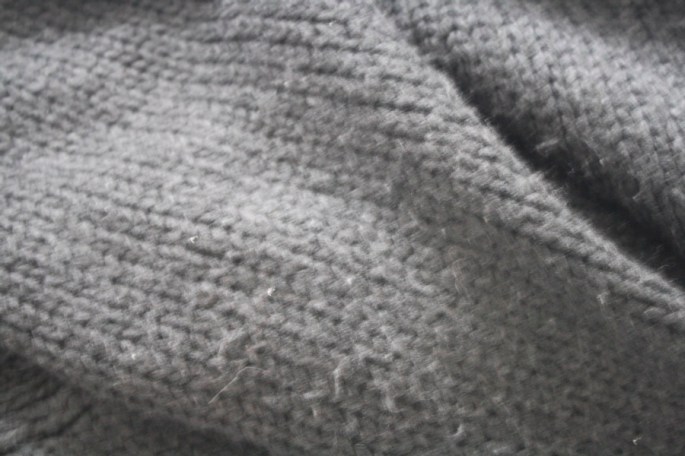
Pic 2- black jumper 

Again the – 1 and – 2 F-stops provided the most realistic photograph of the jumper and the  knitted texture without over-exposing too much.

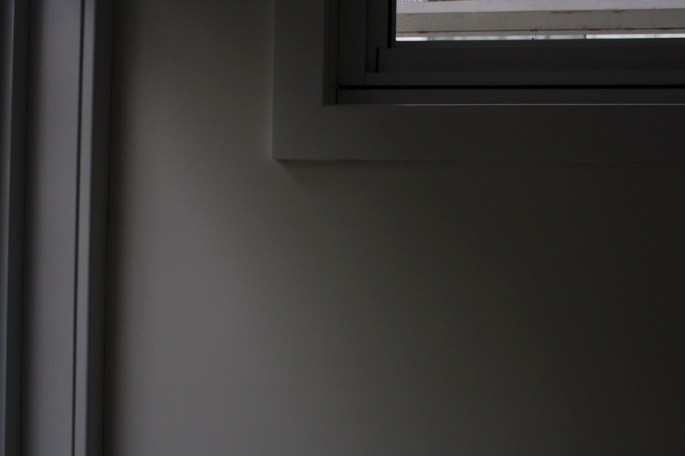
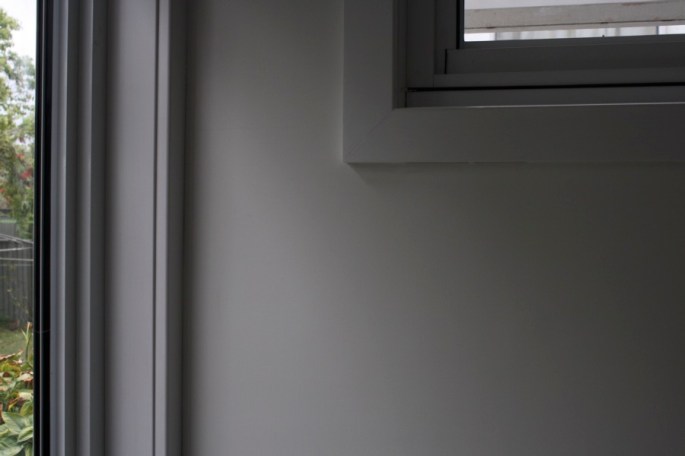
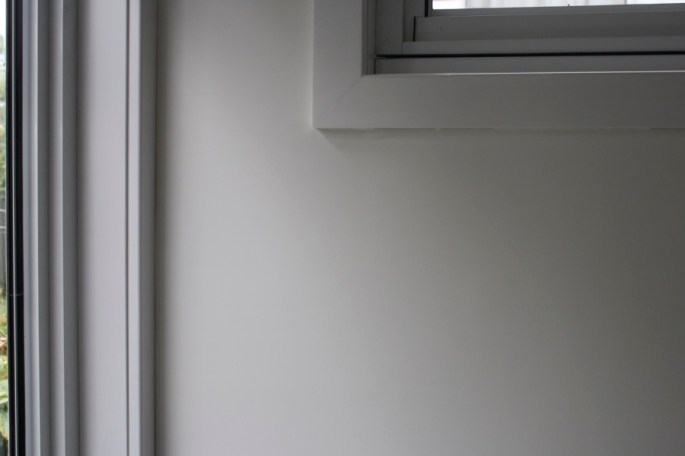
Pic 3- White wall 

In these sets of images the best exposure was in F stop 0 and +1, the wall wasn’t grey and over shadowed as it was in the – 1 and – 2 F stop’s. While the +2 image was overexposed and started losing detail.

All images benefited from exposure compensation. It has also gotten me to look back at older photos of mine and realise how beneficial this tool would of been.

In this module I learnt about the importance of ISO, shutter speed and Aperture when adjusting exposure. I also learnt the limitations of cameras, dynamic range, metering mode and bracketing.

note: my camera only goes as low as -2 and as high as +2

  • Abbey


Focal length test – Module 2

blog 3

Landscape – Wide Angle

blog 1

landscape – Normal

blog 2

landscape – Telephoto

blog 9

Portrait – Wide angle

blog 7

Portrait – Normal

blog 8

Portrait – Telephoto

blog 6

landscape – Wide angle

blog 5

landscape – Normal


blog 4

landscape – Telephoto

For this exercise i went to my local park. The sun had nearly disappeared, so i did my best to get some photos. You can see the benefits and disadvantages of using different focal lengths. Telephoto is great for creating a depth of field in landscape images, while normal is a standard view and wide angle provides a large range of view including all the details in the landscape. The normal and telephoto were my favourite focal lengths for the portrait images they had a more personal feel to them.

Wide angle : 18mm / normal: 35mm / Telephoto: 55mm

In this module i have learnt:

  • Spyglasses and telescopes paved the path for camera lenses today.
  • Focal length, aperture and focus is the most important components of a great lens
  • There is many types of lens such as:
  • Standard lens – Fixed focal length and fairly accurate to the human eye.
  • Wide angle lens – Shorter focal length that enables you to capture a wider angle view.
  • Telephoto lens – Provide a narrow point of view from far away.
  • Zoom lens – Variable focal lengths. some can range from wide angle to telephoto.
  • Fisheye lens – Distorts the perspective to create a 180 degree image
  • Macro lens – Used for close up photography. The focal range is between 50-200mm
  • Tilt-shift lens – Used mainly for architectural photography
  • Image stabilisation lens – Corrects camera shakes when using longer focal lenses
  • Soft focus lens – Popular in the 1980’s, this lens softens the image and removes any blemishes
  • Specialise bokeh lenses – Used to create a siring effect
  • jpeg is useful for simple projects and are easily downloaded as it is a smaller file
  • RAW is best used for bigger projects as the image can be corrected without effecting the quality and detail of the image.

-Abbey

Colour photo essay – Module 1


Colour photo essay – White

Module 1 – camera + capture

I chose white as my colour of choice. My home is surrounded by white, I’m not a massive fan of colour in my space so it was very easy finding subjects.

Due to being unwell last week and this week, I was unable to venture outside my home/backyard, so i apologise for the simple objects.

To make the white crisp in a lot of the photos i have saturated them slightly and sharpened them.

  • Abbey